Megademo
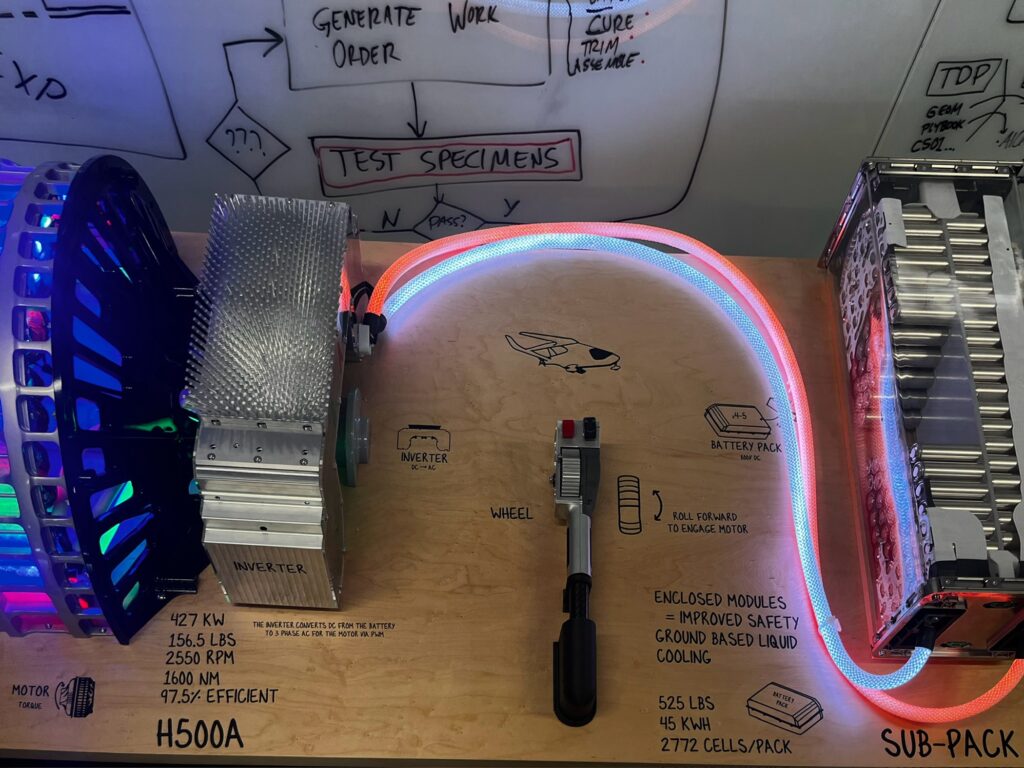
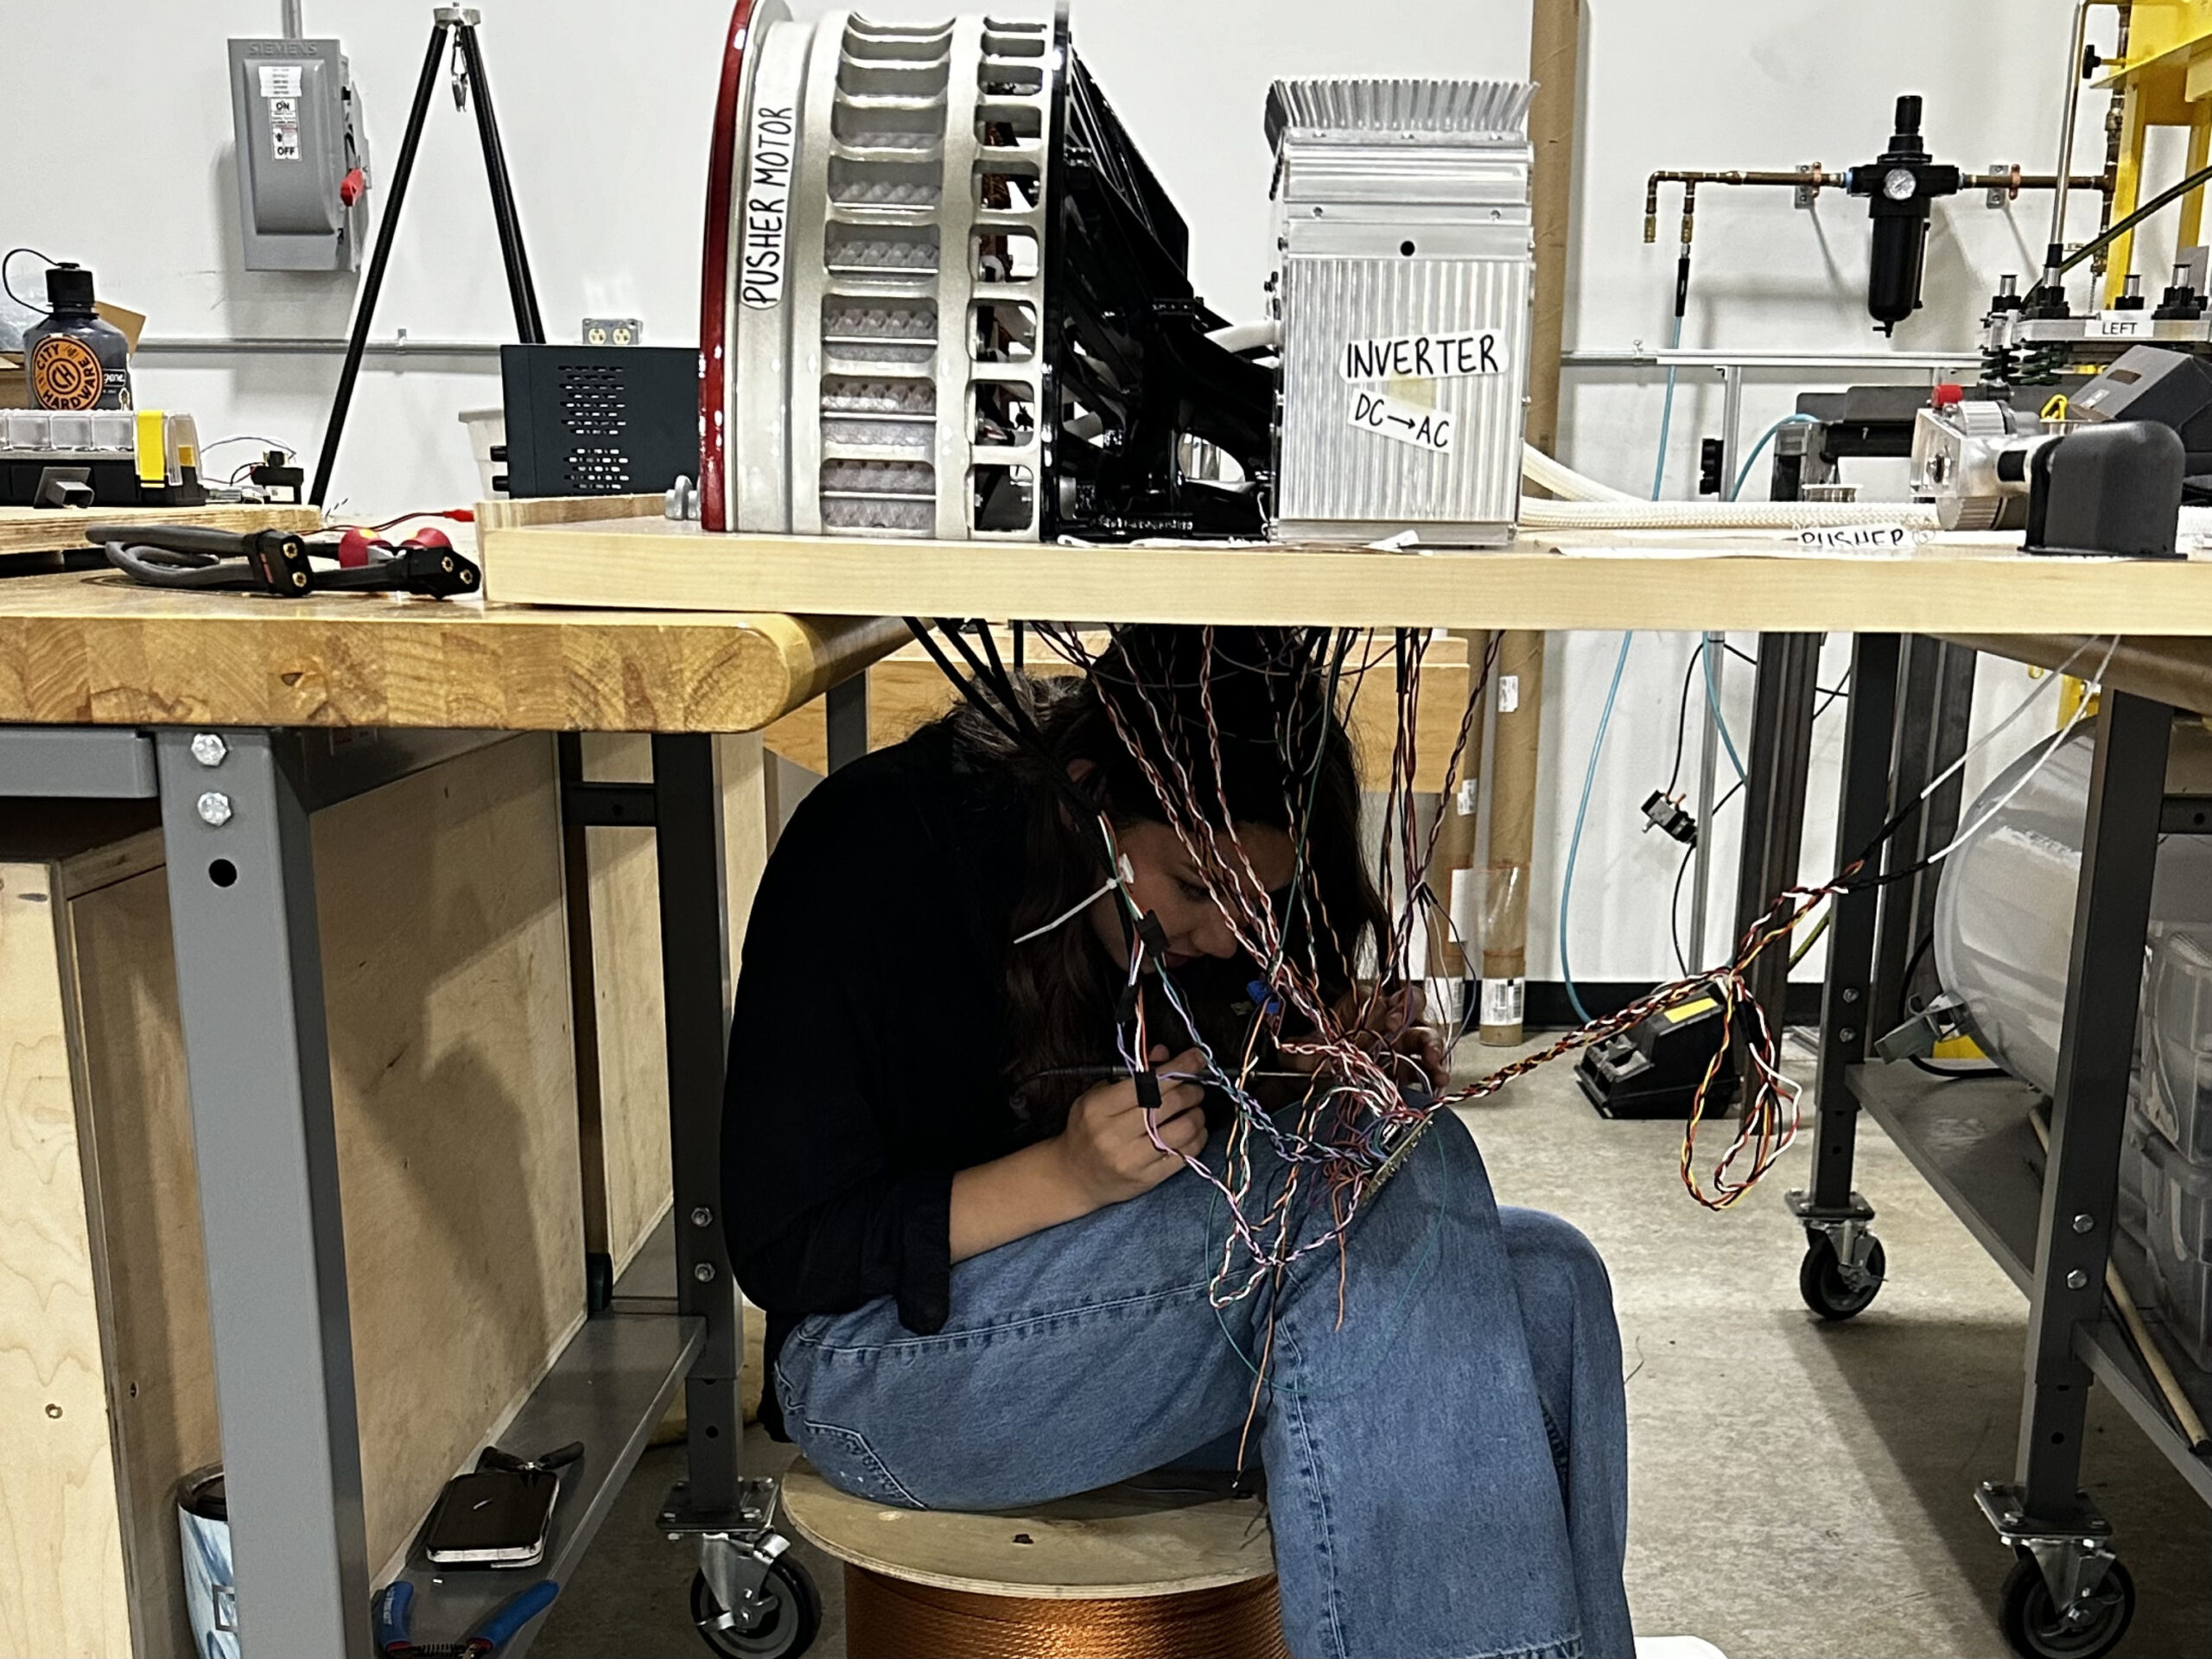
Study Hall is a team that builds teaching tools so that anyone, regardless of age or educational background, can understand the technology behind Beta Technologies’ electric aircraft (Alia). I worked to make this Study Hall demo reveal the relationship between the pilot’s pusher wheel controller and the direction and amount of power from the batteries. As you push the wheel forward, the lights from the battery and in the motor begin to slowly light up. The further forward you push the wheel, the brighter the battery lights get, and the motor lights begin to cycle through red, blue and green lights, faster and faster (to show the inverter’s sine waves making the motor “spin”). I also made it so if the wheel is pulled all the way back, past the off zone, only the battery lights light up (depicting our aircraft’s regeneration). I then created a sheet of labels and drawings in Illustrator and had them printed on vinyl as infographics to further explain the demo. This project expanded my skill set as I did all of the code, electrical and vinyls with very little, and in some cases, no experience.
Camera Lamp
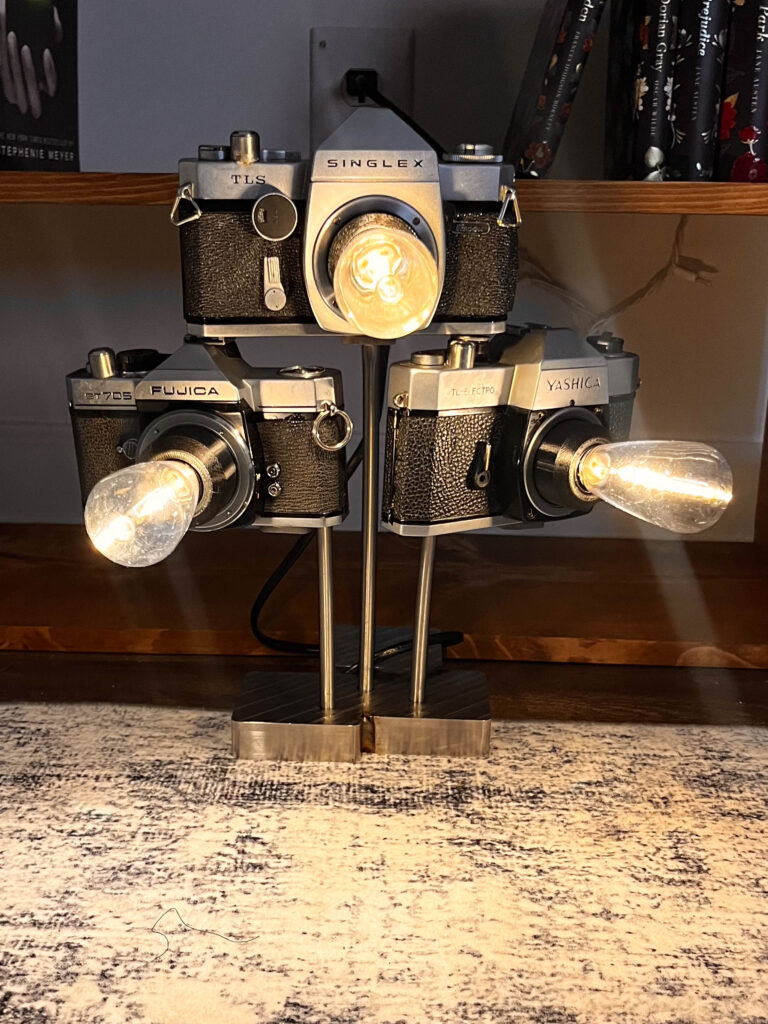
This idea came to me as a brief thought that wouldn’t leave me alone. So naturally, I ordered three already broken cameras to gut and turn into lamps. After gutting the cameras, I drew a sketch and made a plan. I ordered a set of 3 buttons, many different light bulbs, a wall plug, E17 wire sockets, and hollow metal tubes. The cameras are held in place with a cut to size L-bracket that has a hole in the bottom that screws into the camera’s tripod thread, and one on the other side feeding wires inside the camera. The tubes(which came straight) I bent to have an arch that leads right to a camera. There are three machined squares of steel as a base(heavy to counteract the weight of the cameras) that have holes drilled into them for the tubes and grooves taken out of the bottom for the wiring. The wiring is fed through the back of a square, split into three underneath them, and each set fed up through the tubes. There is a hole drilled into the back of the camera, lining up with the bent tube, the wire feeds in through. Since the cameras are gutted, I was able to wire through the inside to the shutter buttons I took out. I replaced each with a button I ordered and a ring I machined to hold them up. Finishing the circuit by wiring out the front of the camera to the socket and light bulbs I decided on, I made it so to turn each camera on and off you press the corresponding camera’s shutter button. The last thing I had to do was design and 3d print holders to hold the sockets in place. After a couple renditions and adjustments to my design, I finally had finished my camera lamp!
Wind Tunnel Test Box


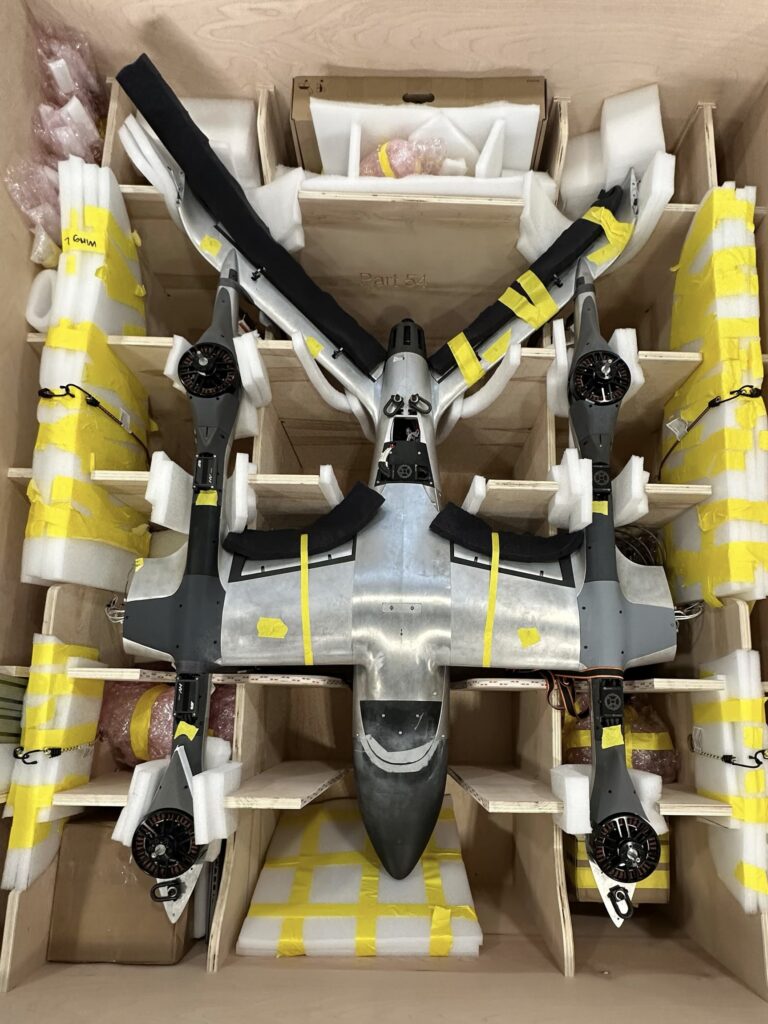
I designed a box. A really big one. A 600 pound one. Beta Technologies needed to ship one of our models all the way to California to test in NASA’s wind tunnel and I was lucky enough to design the box for it! The model weighs in at about 400 pounds and measures approximately 8 feet by 5 feet so the box not only had to be huge but incredibly sturdy to both hold the model and make it all the way to California from Vermont. There were two goals for this box; it had to be forklift-able from any side, and completely done and made in only 9 days. When the model is stored, its wings and empennage tips can be taken off, as well as its propellers. With that in mind, I found a box design one of my coworkers did for a similar model and modified it to fit my needs. The wings and empennage tips are stored on the sides of the box where I made the ribs dip down to fit and support them. The main body’s nose and tail are much more delicate than the rest of the model, so the body’s rib holes are cut out at different heights so they will take more load in the middle of the aircraft than the sides. That way, if the model were to rock up or down, it would have supports but the majority of the weight would be in the center. In less than a week, I had reworked the CAD file I found in Onshape, talked to multiple people about my design, and then sent it to the woodshop to be made— successfully meeting my deadline!
Newsflash
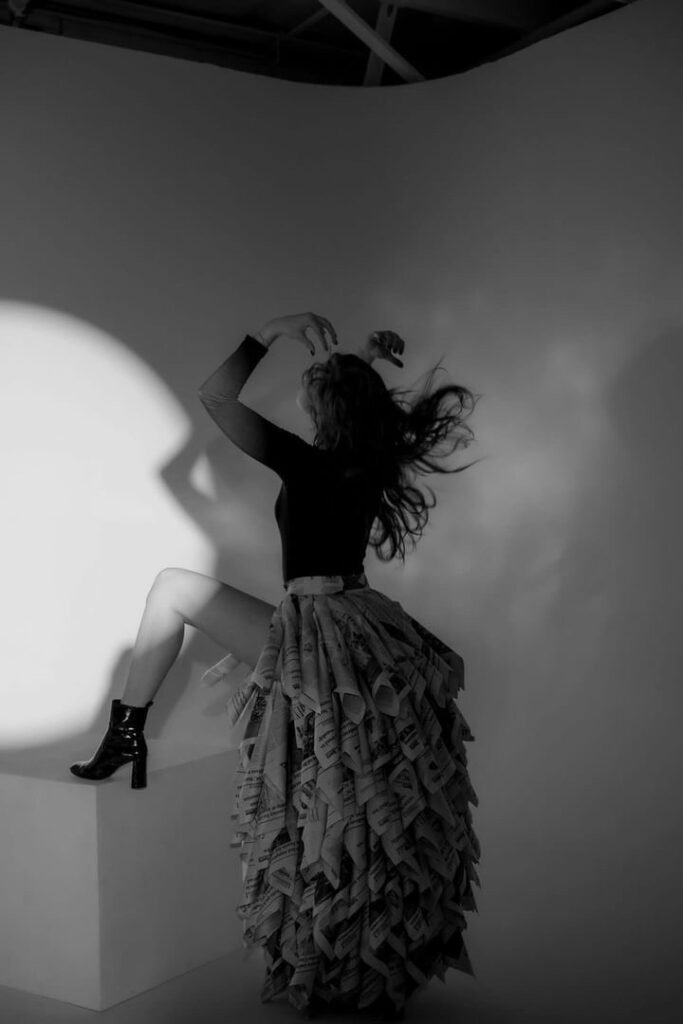
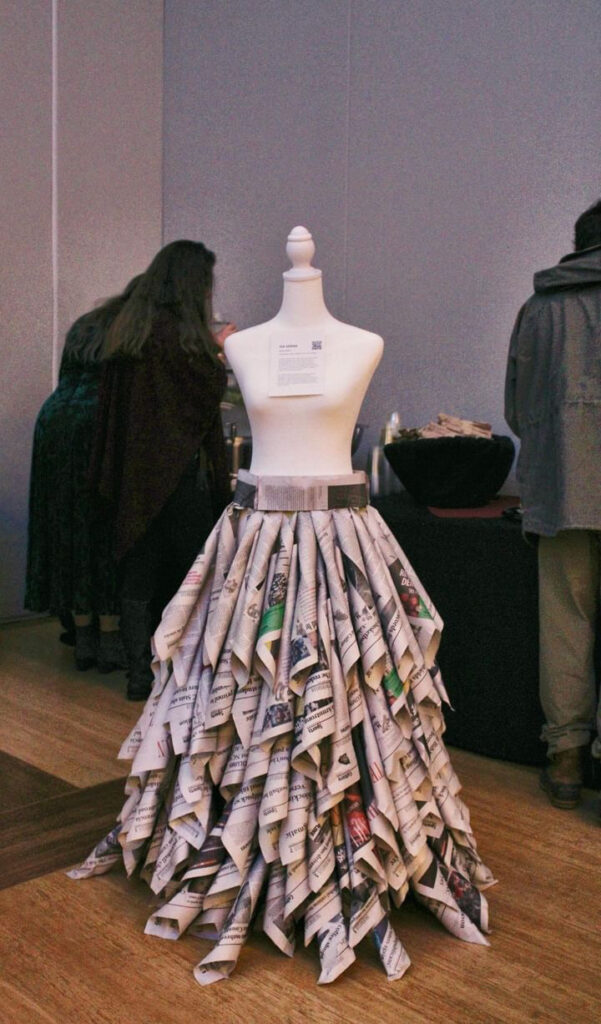
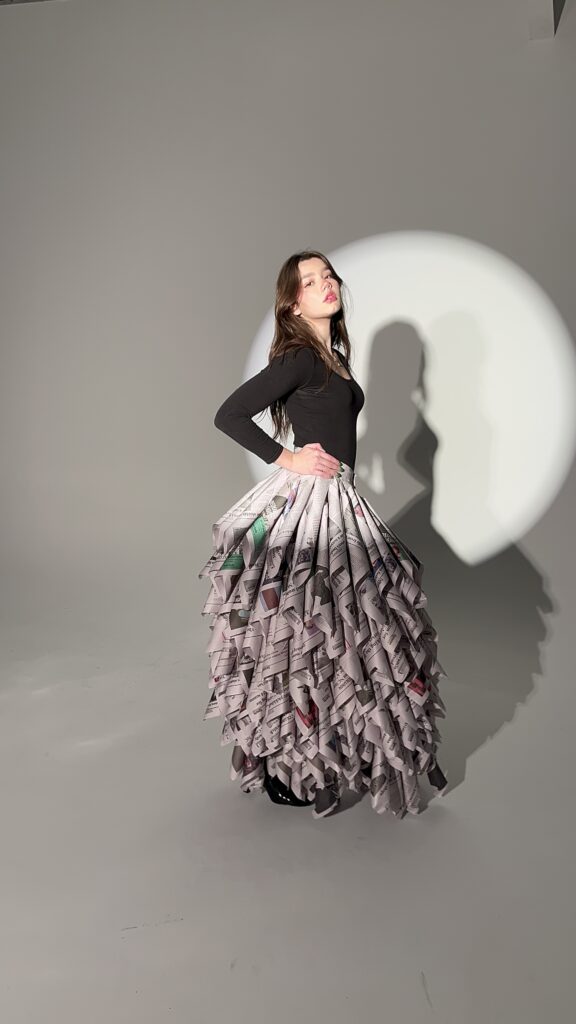
I model a lot in my free time and most of the concepts for shoots are created by my photographers. I told one of them about my idea for a newspaper skirt. Picking up on my enthusiasm, she offered to feature it in a shoot that weekend, giving me four days to somehow create this elaborate skirt from scratch. Thankfully, I had been stockpiling Technician newspapers in the few months prior. The skirt is completely made of newspaper, embroidery thread, super glue and a couple of dress clasps. I first started by creating tubes of newspaper for the body of the skirt, and assembled the waistband with folded newspaper. I then sewed the newspaper tubes to the waistband and then to each other, working my way down to the desired length. After I modeled my skirt and posted it to Instagram, it got a lot of attention. The Technician reached out to feature me in one of their issues, the Sustainability Stewards wanted it displayed for their art show, and the skirt also got displayed for sale in the Eno Arts Mill Gallery! If I were to remake this skirt, I think the biggest thing I would fix is the waistband. No matter how many times you fold newspaper, it is not strong enough to hold and move several more pounds of it. I think I would wrap it around a thick ribbon and then use something to create a cast to provide extra strength and support.
Alia Model Stands

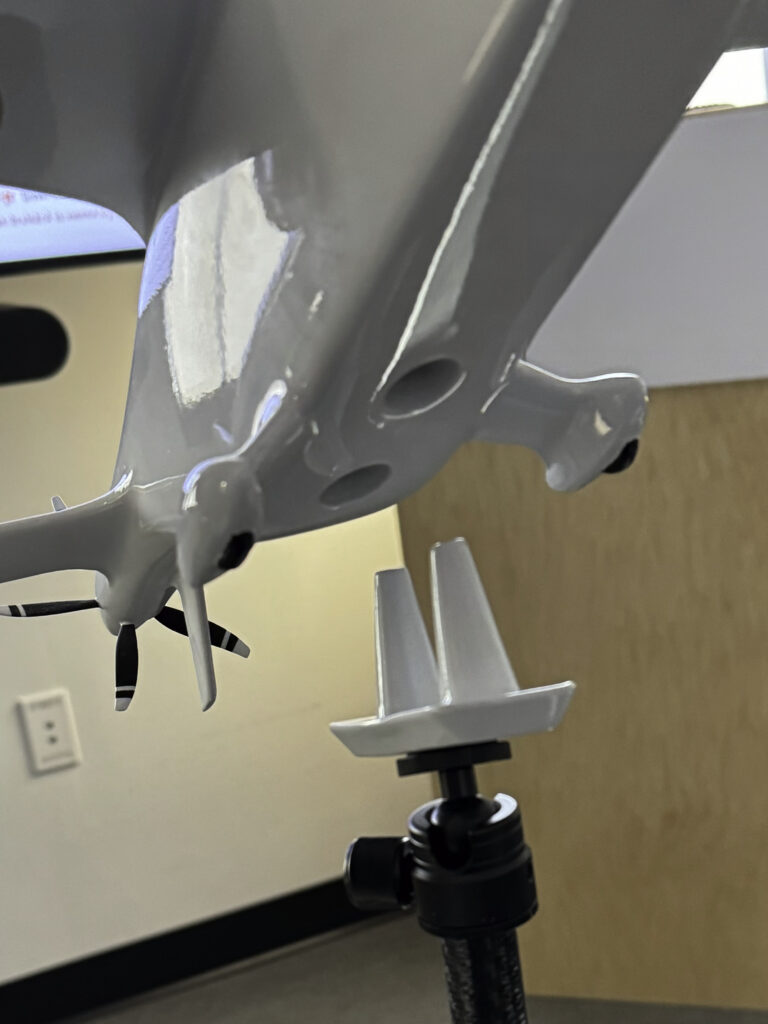
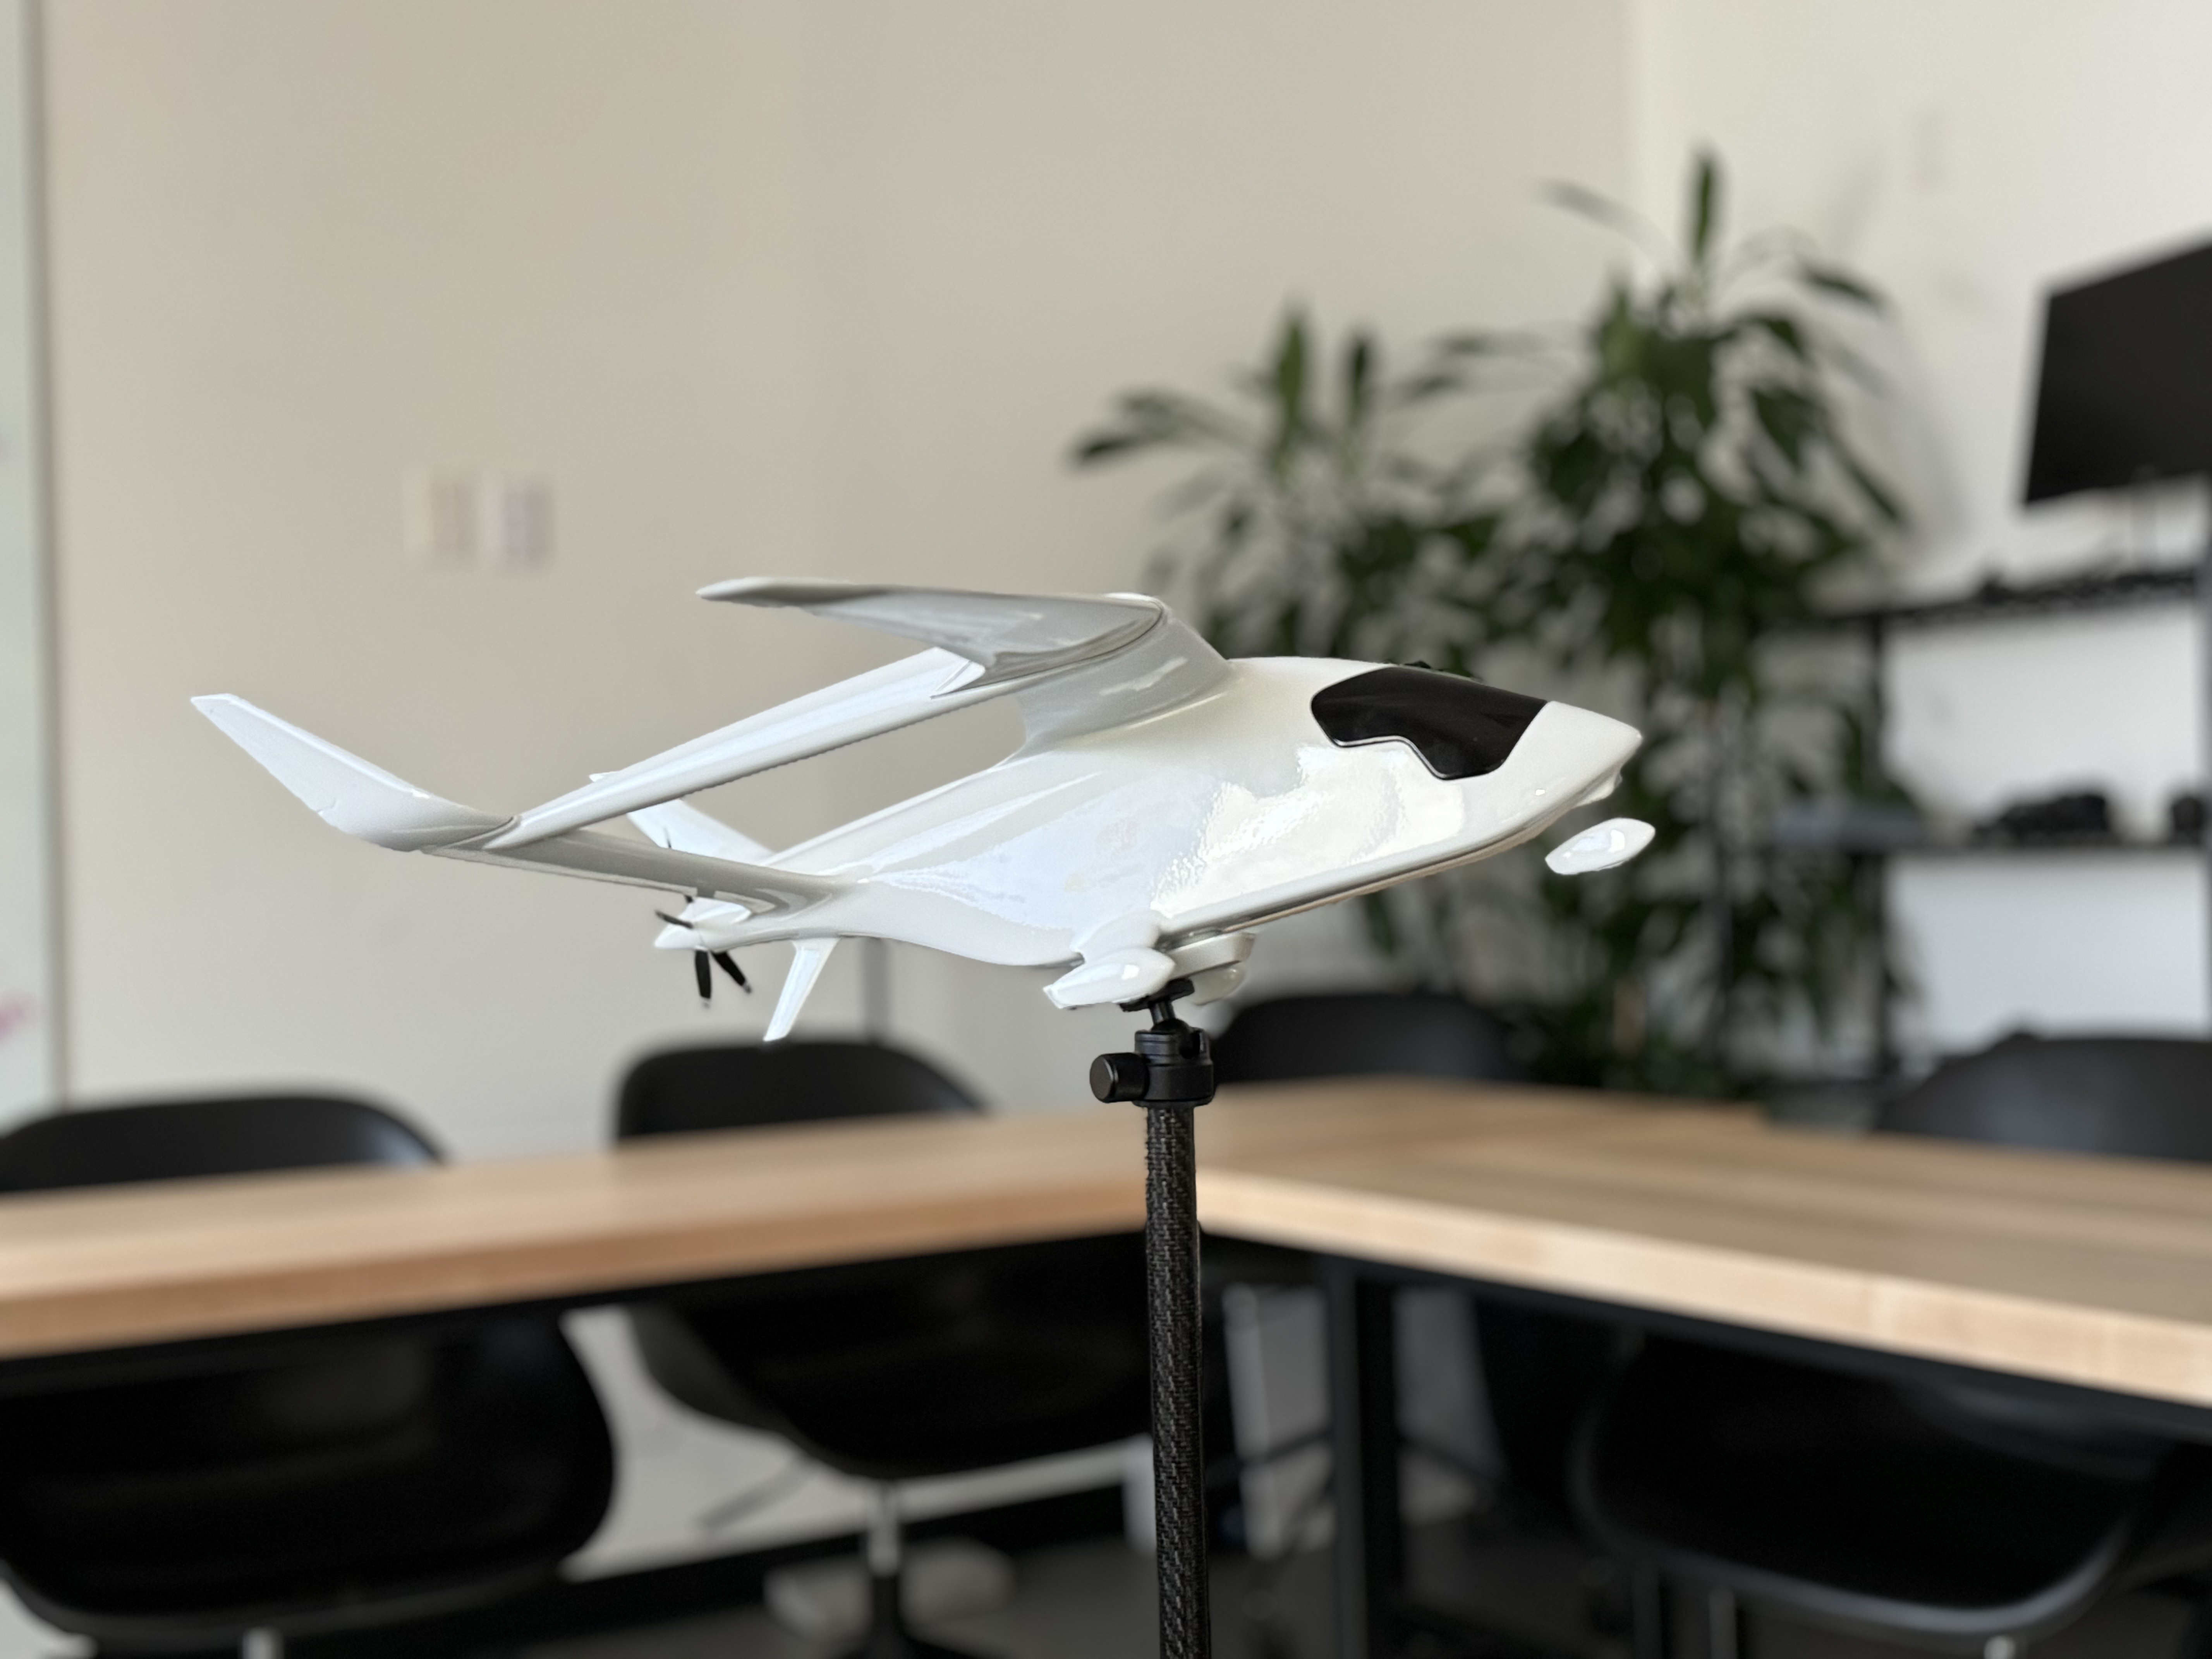
At Beta Technologies, I sometimes work on designing and creating electric aircraft (Alia) models. We needed a better way to use them as teaching tools and the vision was to incorporate a table and a waist-high stand. I went through a myriad of different attachment iterations and finally landed on a two-pronged insert that can be placed upon a table or a tall stand. The tall stands are made of a piece of scrap metal (cut to size), a threaded metal rod with a carbon fiber covering, and an actual camera tripod mount that screws into the adapter piece to hold the model. This way, when these models are used as teaching tools, the instructor can spin, point and hold them in any direction on the tall stand, and then easily place them onto the table stand.
Battery Demo
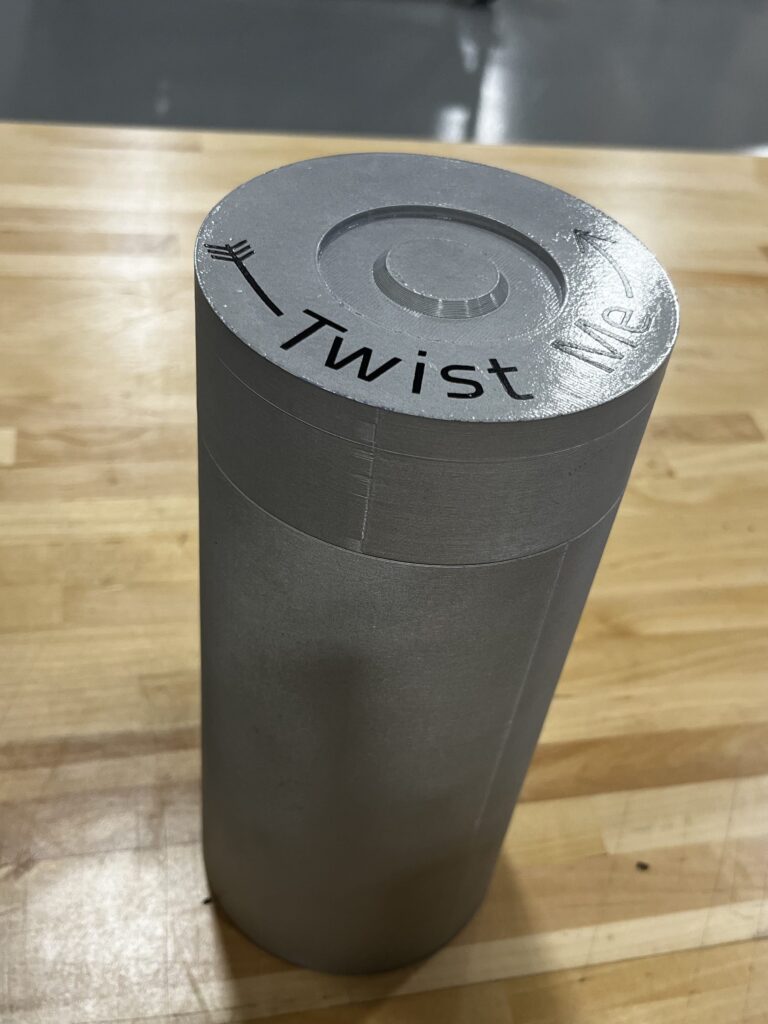
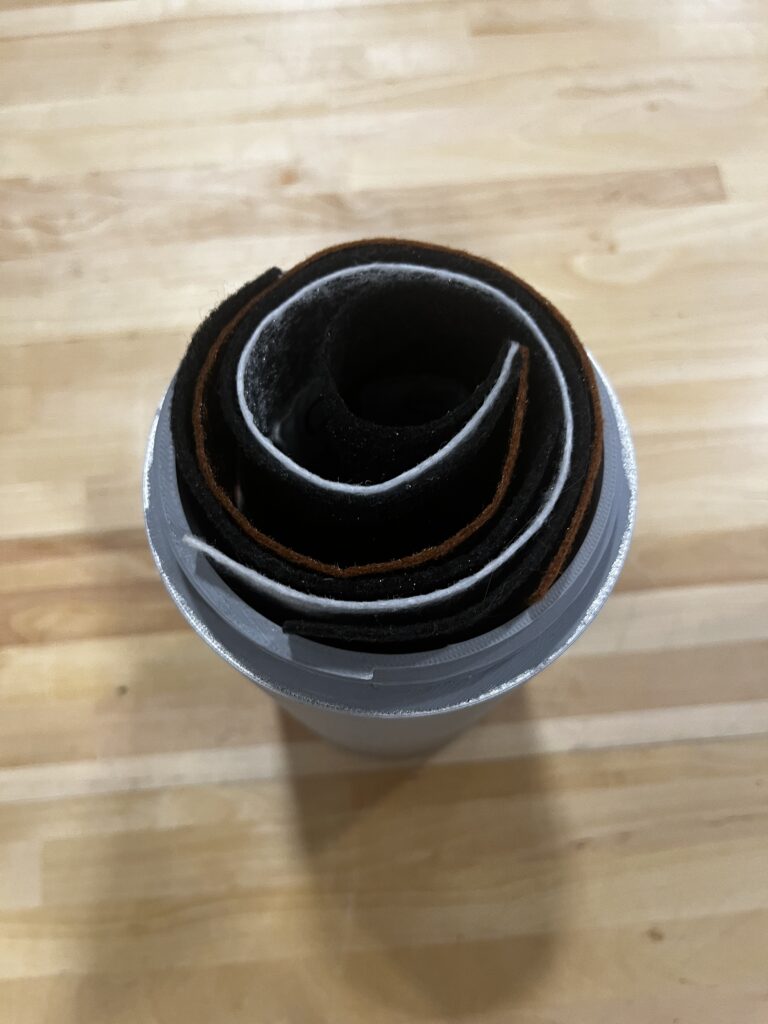

This is the first Study Hall demo I built! The batteries in Alia (electric aircraft) are lithium-ion batteries, and to demonstrate how they worked, I wanted to open the battery and have its parts be labeled and removable. I watched countless videos and spoke with multiple engineers on the battery team to learn exactly how these batteries worked. Once I decided on a direction, I used CAD to make a large version of a battery cell. I originally wanted the battery cap to be secured by magnets, but upon further reflection I decided a screw-on cap would be most effective. I found metallic felt for the cathode and anode, and simple black felt for the separators. I used a cotton fabric to iron vinyl on and then sew to the felt. I rolled it up and put it in the battery cell for a complete “jelly roll.” After spray painting and labeling the top, my “battery” was complete! If I were to remake this demo, I would have the cell printed at a higher infill to make it sturdier and create seams on the cotton labels instead of having a fraying raw hem.
Camera + Bag
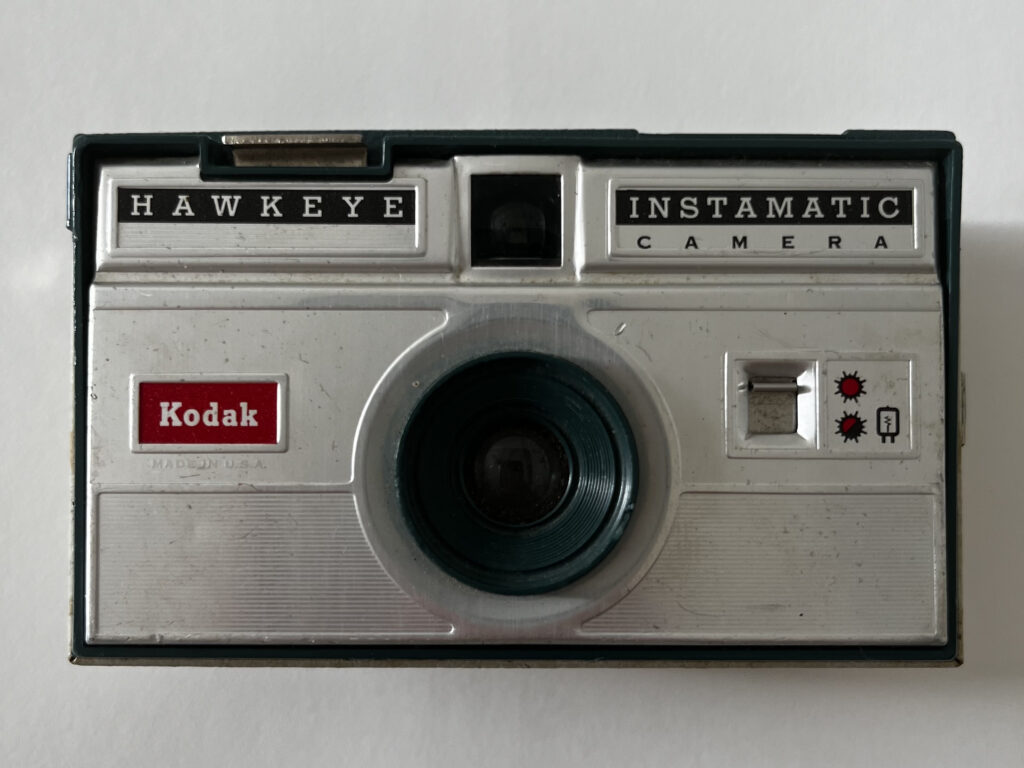
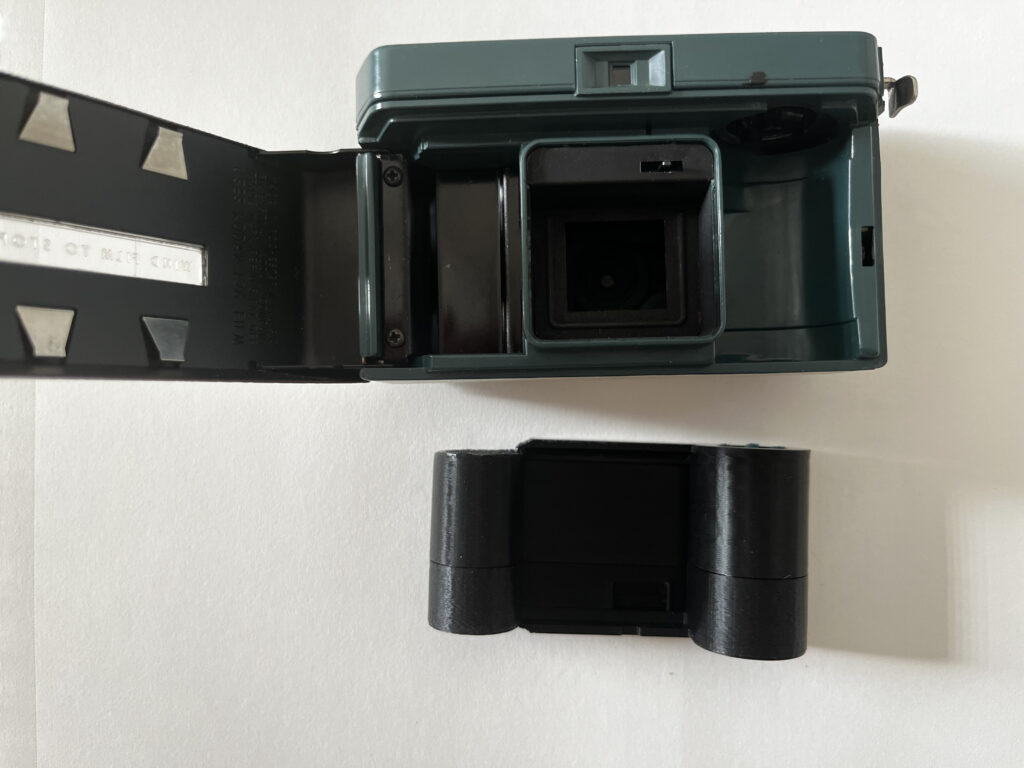
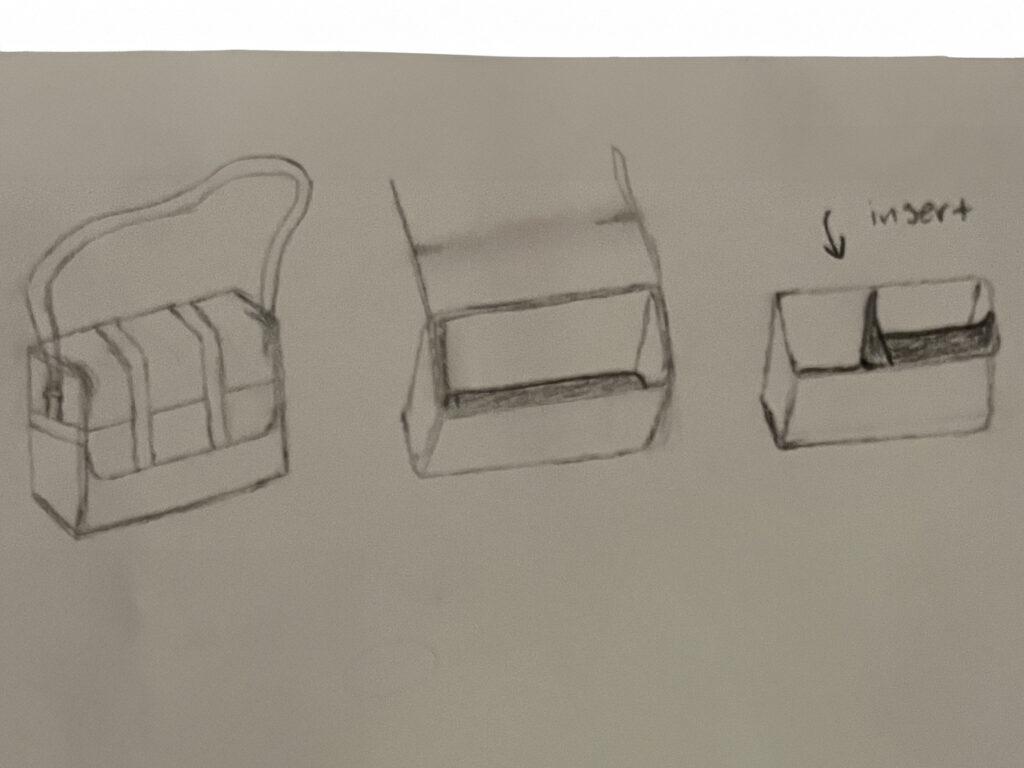
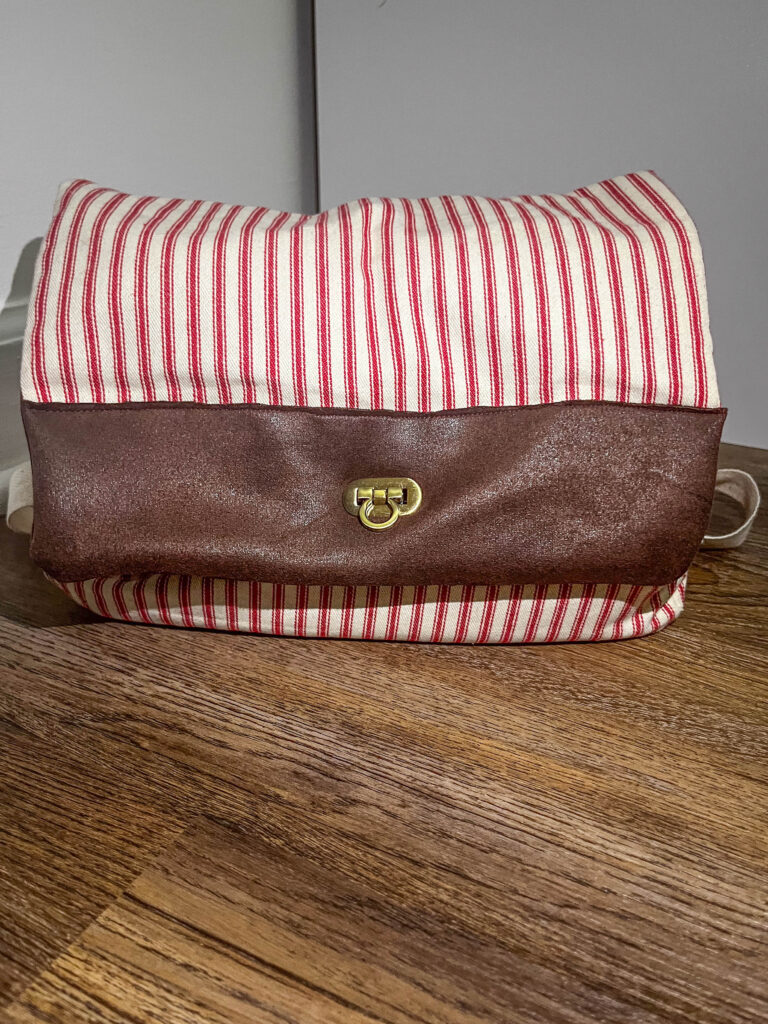
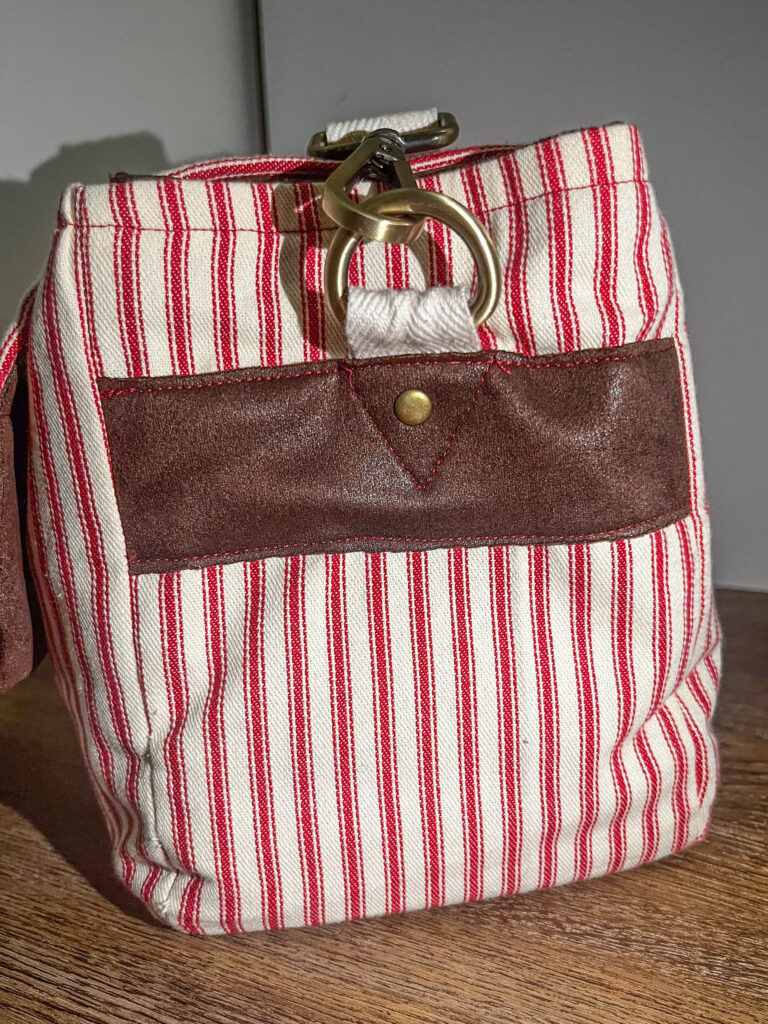
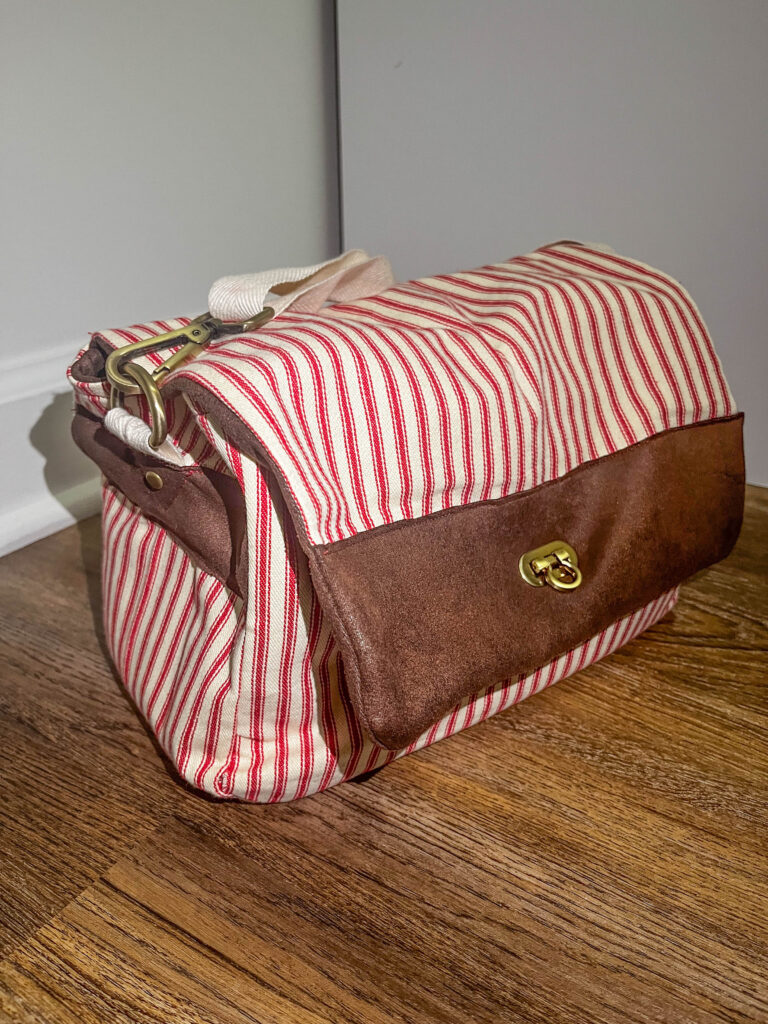
I walked into a cute vintage shop and immediately spotted this camera. It had a $10 tag saying it was broken and in full confidence, I bought it, thinking I could fix it up, and I did! I opened it up and the mechanisms inside were jammed and needed to be mended. The film for the camera was discontinued as the camera was made in the 60s. I fixed up the insides and got an adapter to wind regular 35mm film into and she works perfectly! Now that I had fixed the camera, it needed a bag. I designed a classic over-the-shoulder satchel that has a removable camera bag insert. I sewed the bag out of canvas cotton with a leather suede interior—both the inside of the bag and the insert. I added brass hardware and “leather looking” suede on the outside. Sewing with suede was a challenge and it always wanted to move around and stretch but with lots of pinning it stayed in place fairly well. I think if I were to remake this project I would use a thicker material for the strap, as it loosens a little too easily, and I would also use a more structured interface inside since without the insert, the bag is too slouchy for my liking.
Plant Pot
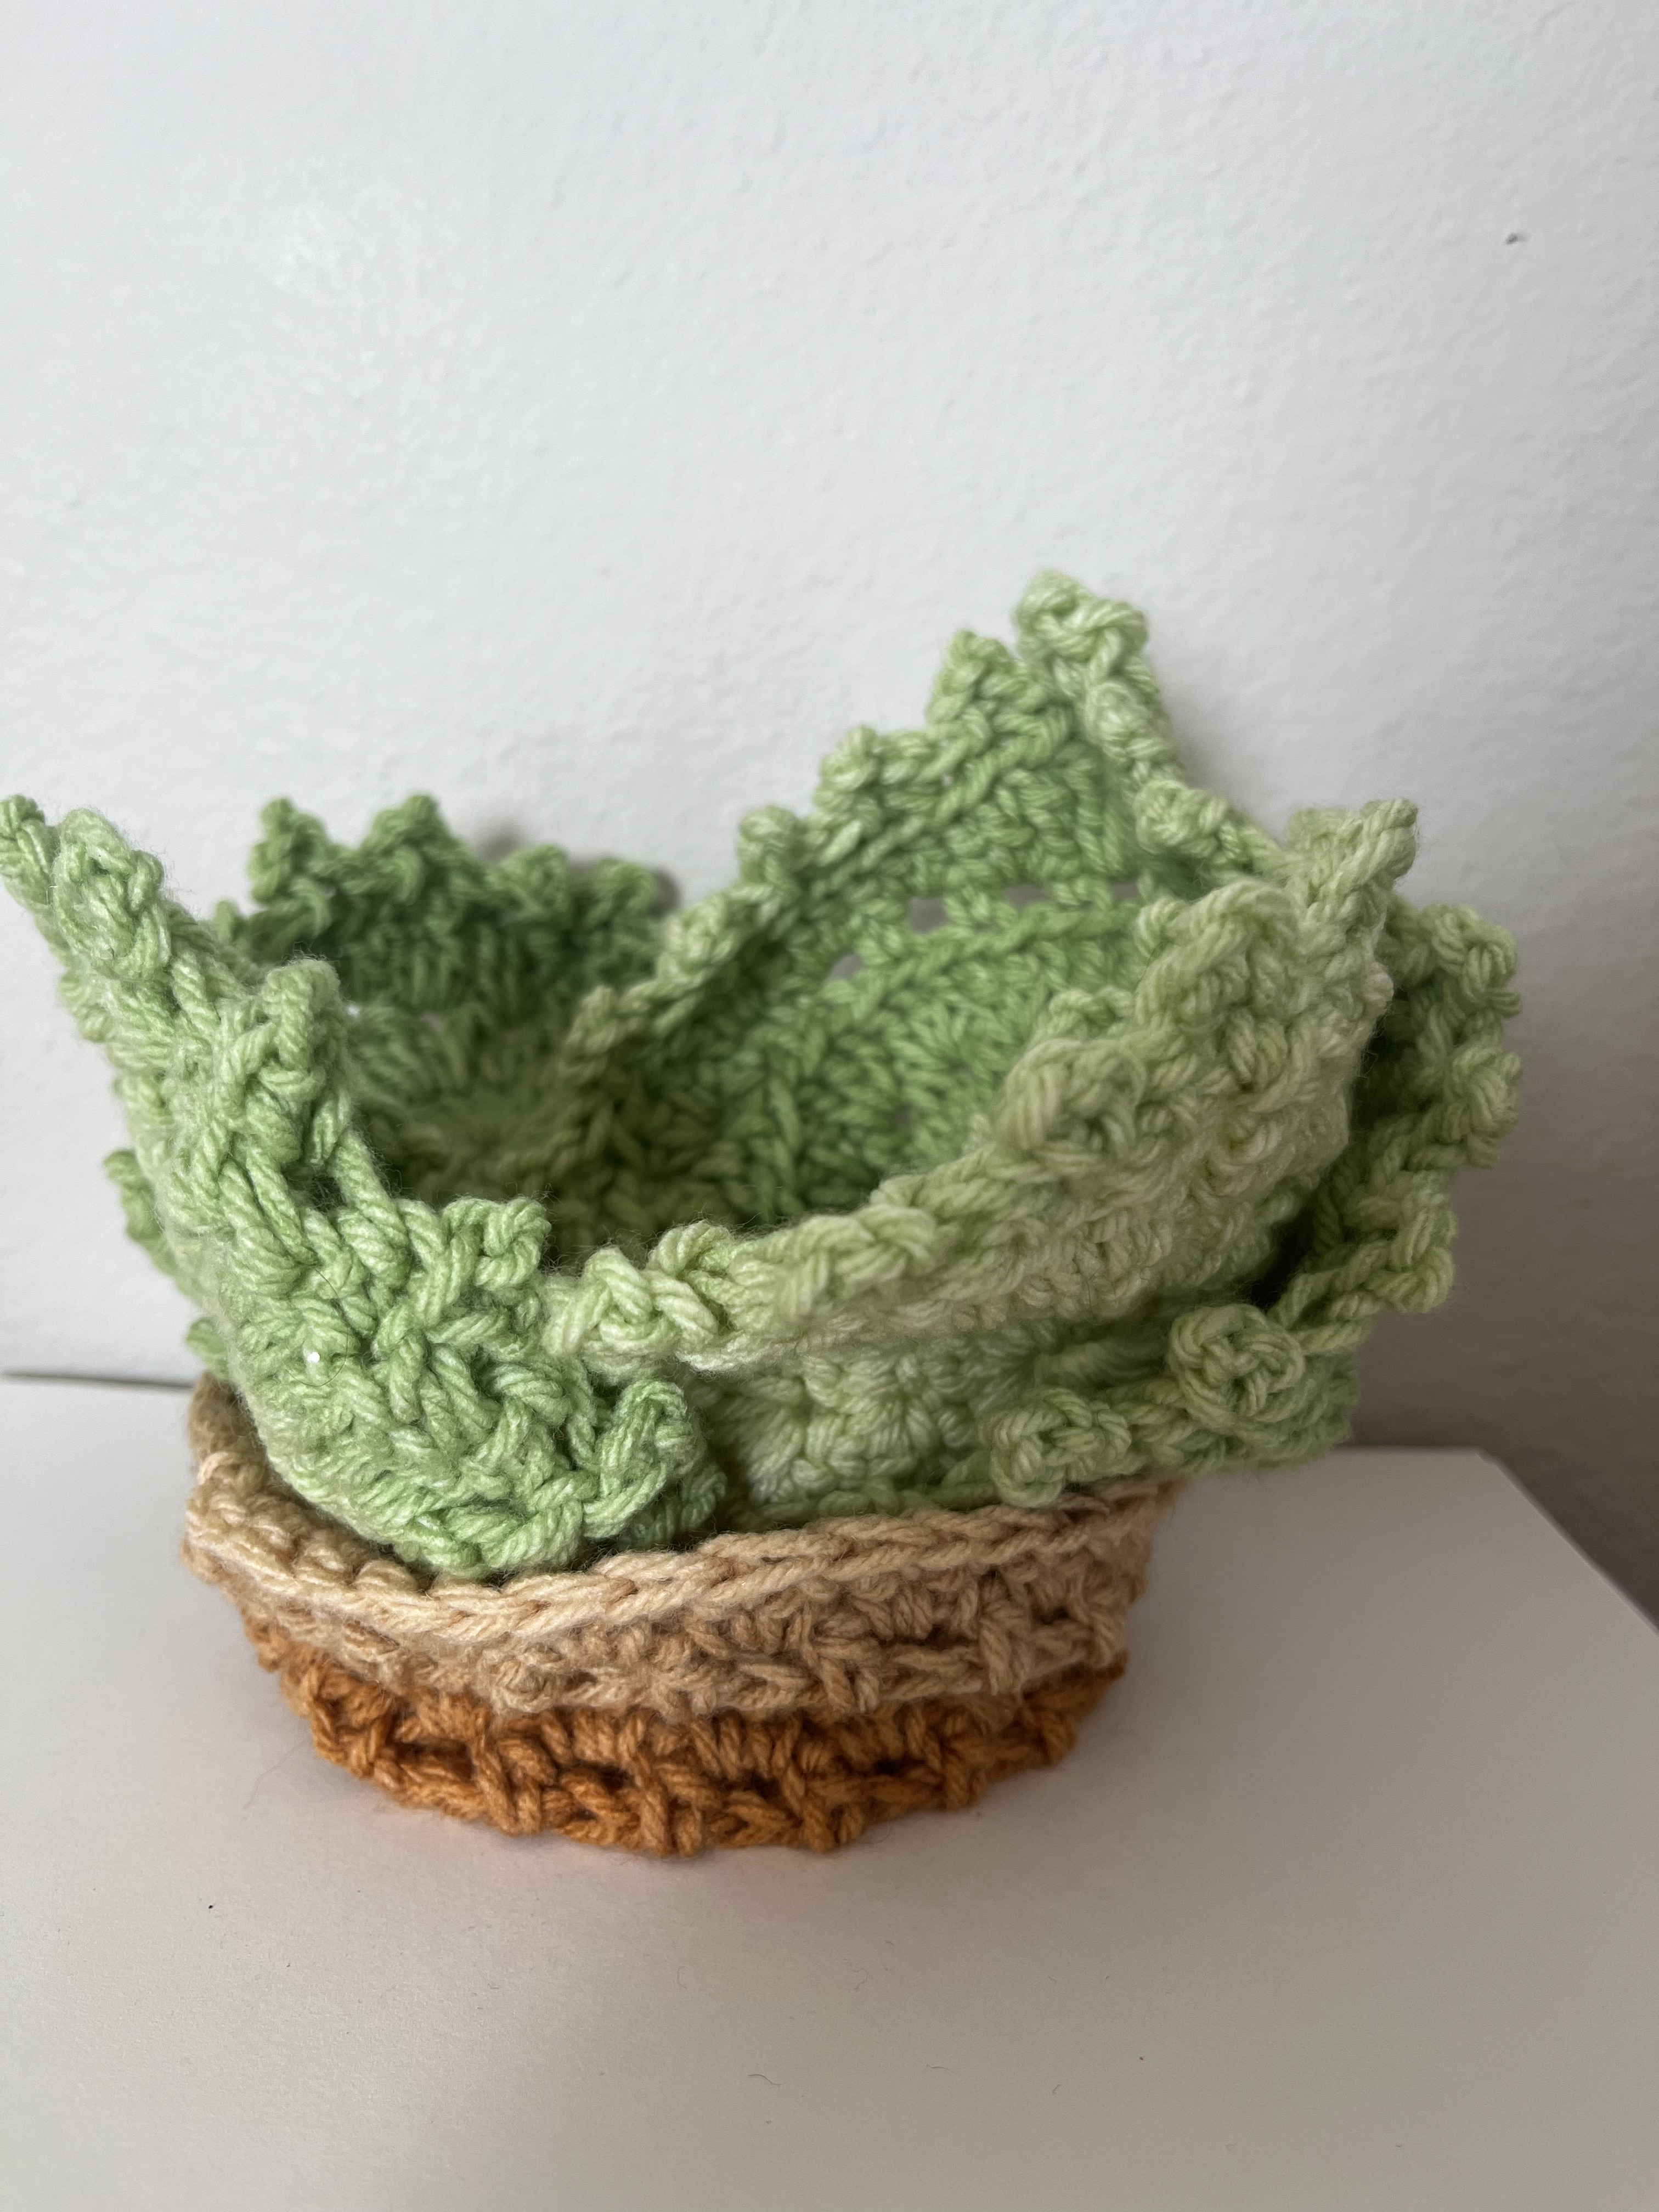
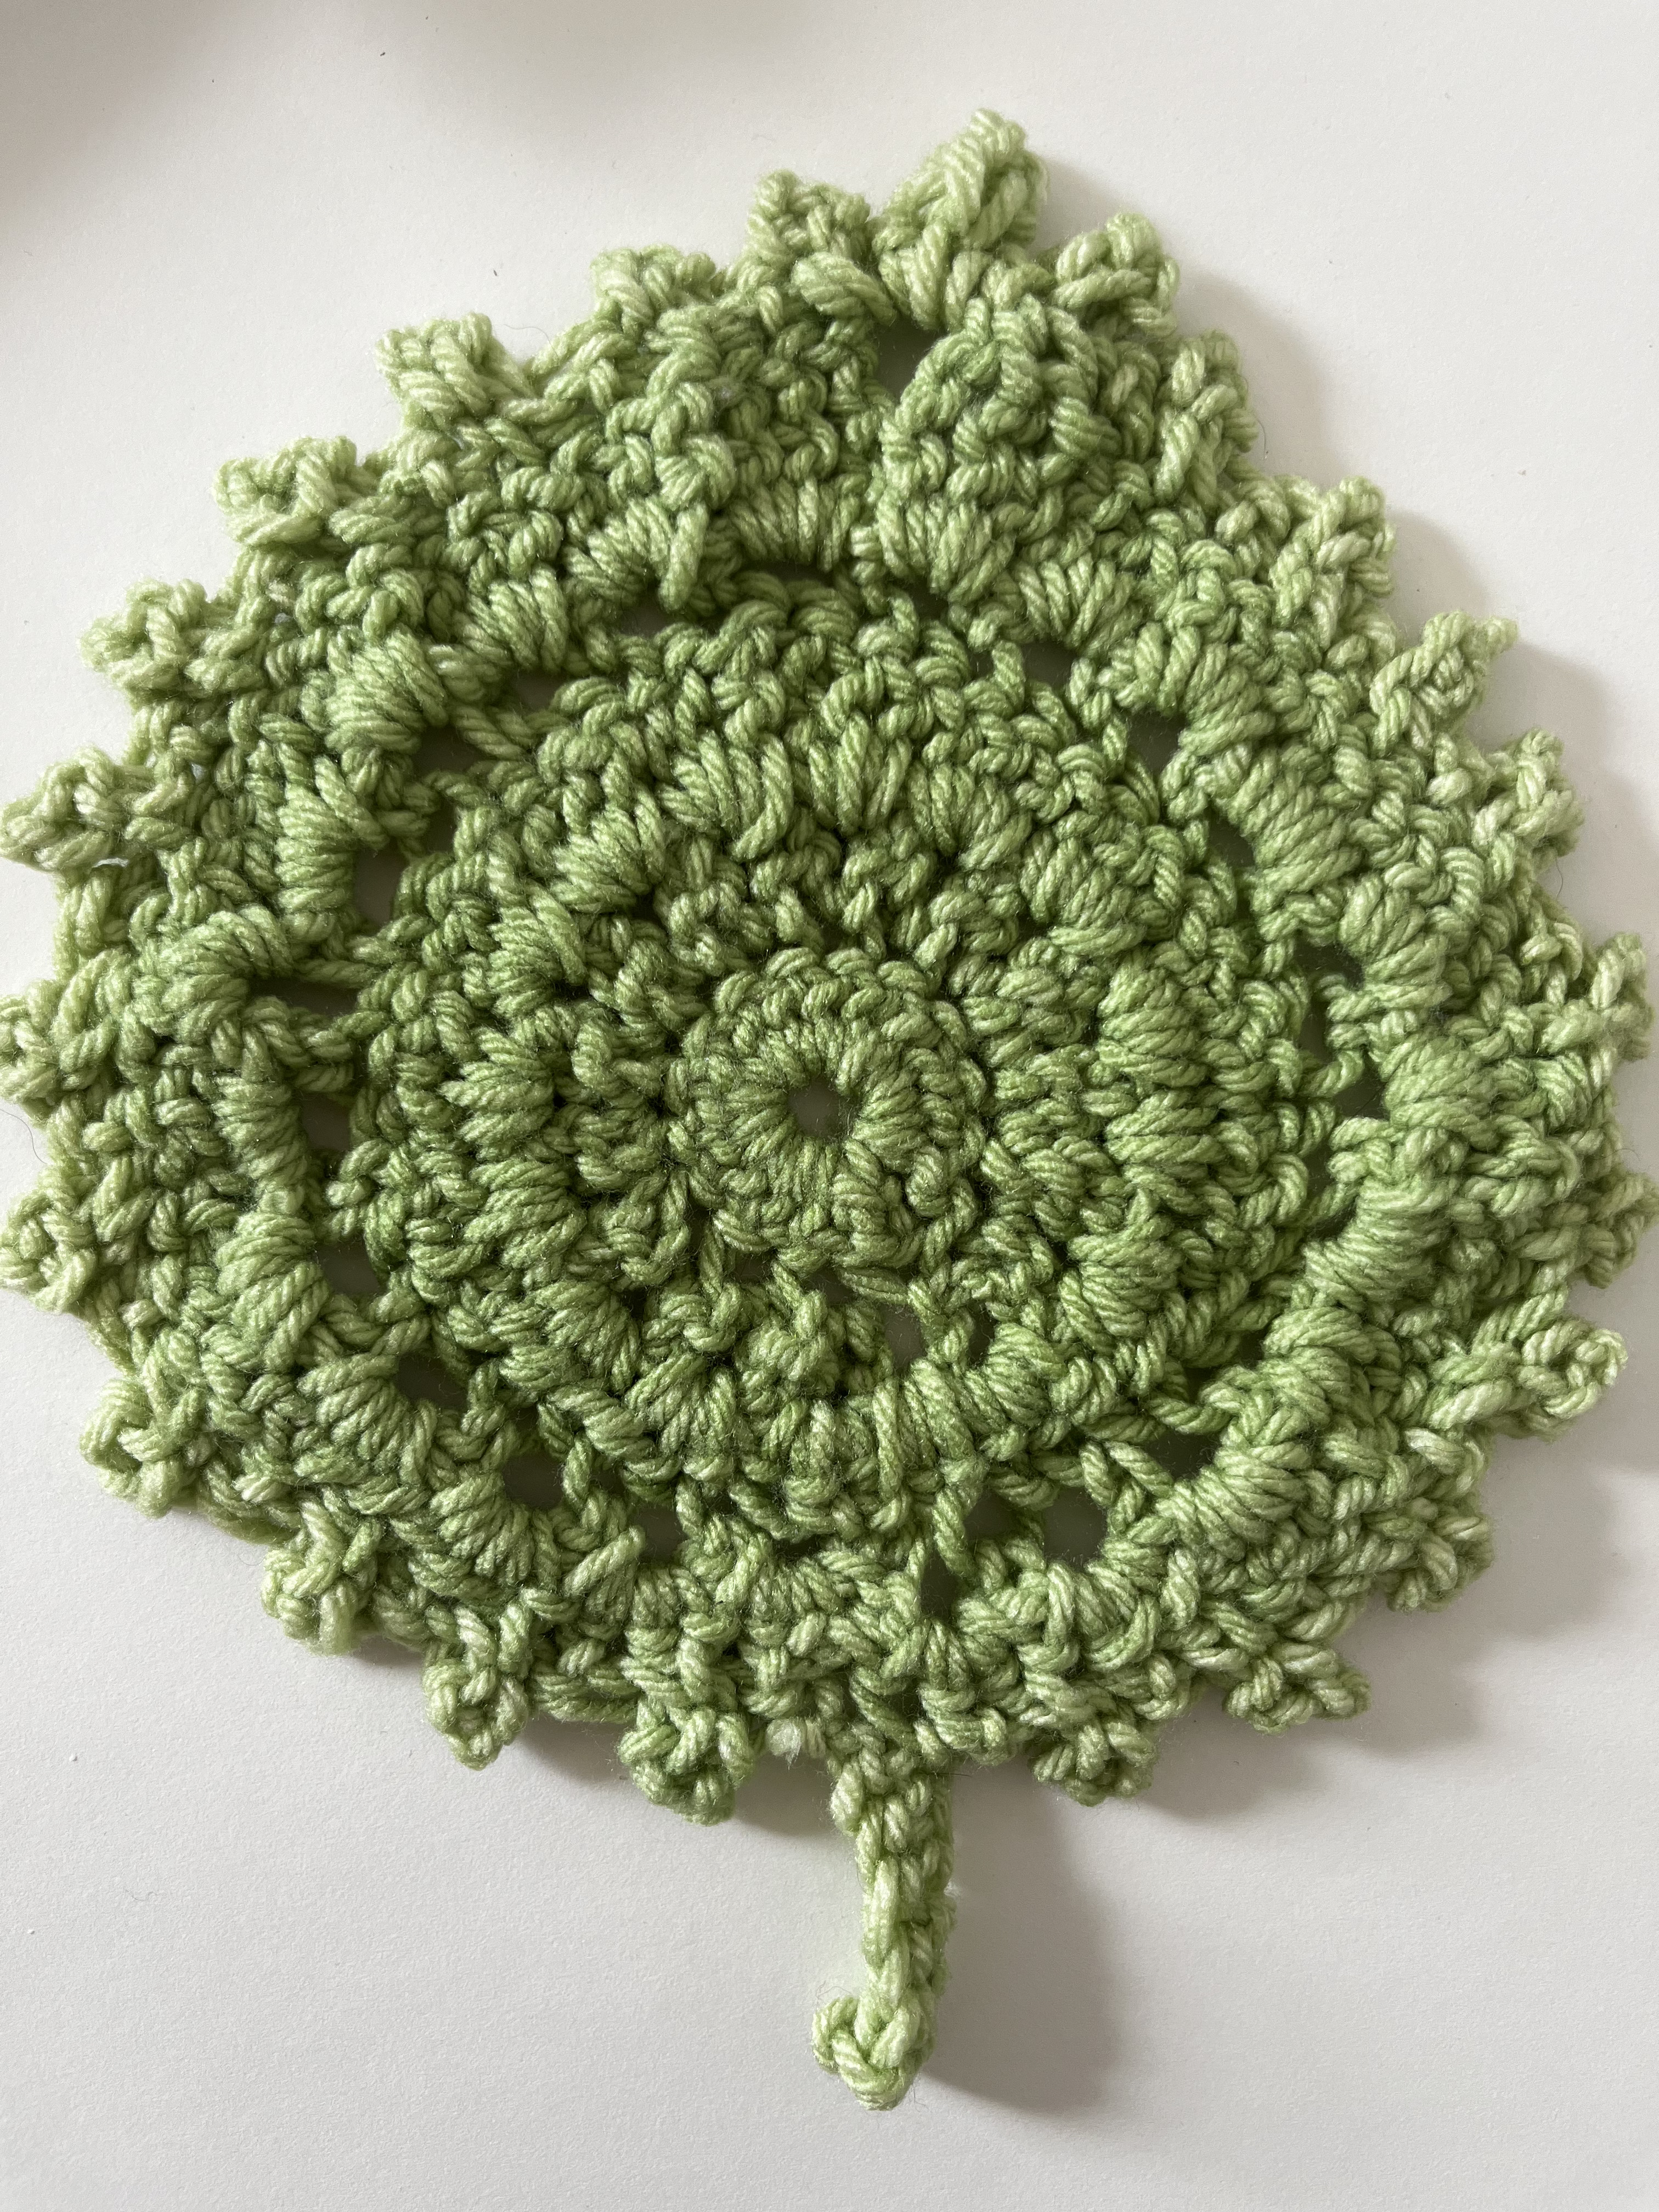
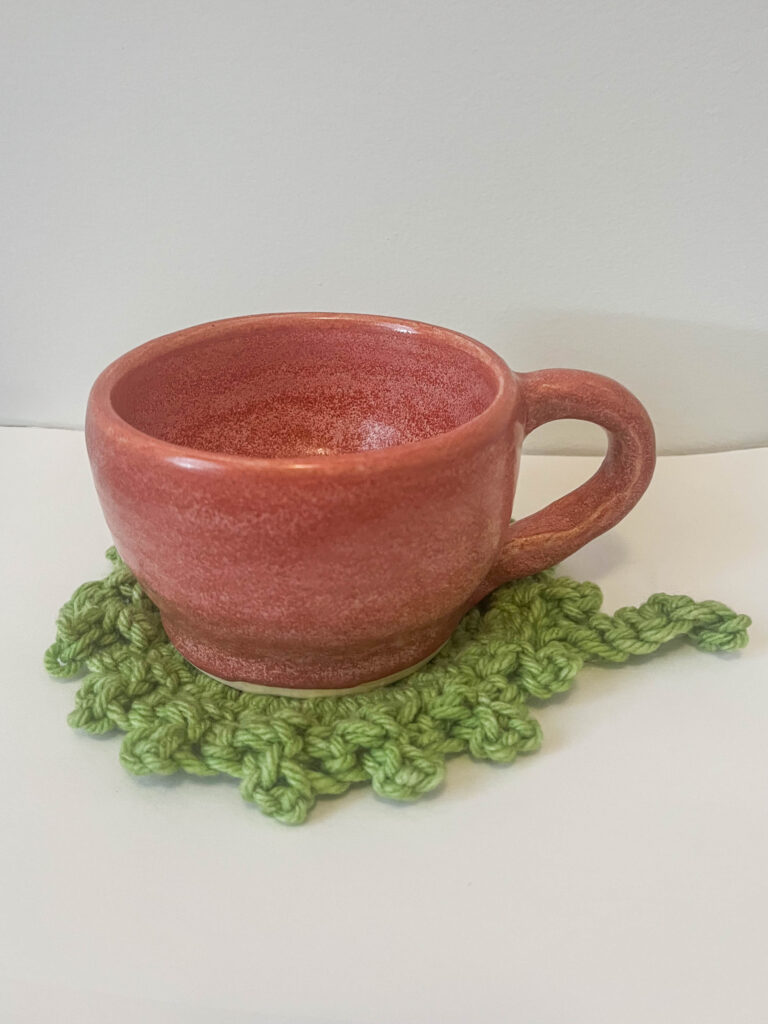
I got the idea of potted plant coasters from one of my friends and ran with it. While I do have experience with spinning and knitting yarn, I have never dabbled in crochet. After watching and rewatching many youtube videos at 0.5x speed, I slowly learned how to crochet. My first creation was the plant leaf coaster to the left! I then went on to create a set of 5 leaf coasters. The real challenge for me was creating the pot. Learning how to crochet something that had tall walls and had to serve as a container, meant that it had to have structural integrity. In an attempt to strengthen this, I crocheted with a lot of tension to create tighter stitches. While I think that helped, I also think it may have been a material problem and I needed to use a different yarn.